
How to Make a Star Piñata

Our baby’s birthday is close! I was looking for ideas on how to make his birthday more impressive in his little eyes. I remembered a friend of mine and the teachers at his school making Piñatas and I said to myself “try it out…” Looking around I came up with different designs and told to try one of them. I thought it would be an idea that I might be able to stir up.
And that’s how I started the preparation. It is important to note that we need to start it several days earlier, at least a week, because the adhesives will need to dry. Especially, if it’s our first attempt we may need a little more time.
What is a pinata?
Pinata is a Mexican custom in which e hung a handmade construction (usually based on cardboard or balloon) at parties and celebrations. They blindfold a child and give him a stick or a bat and he tries to hit it until it breaks. Once broken, various treats (sweets, chocolates, or small toys) fall out of it.
Because of some injuries from the process many times we make them with ribbons hanging so that each child can hold one and pull them all together to break the pinata.
In recent years this custom has spread because it drives children crazy!
We can give any shape. Nowadays, it is common for the pinata to include the theme of the party, whether the theme is about an animal, an object, or a hero/cartoon of children.


Materials we will need
- a star-shaped foil balloon,
- 5 party hats,
- wafer paper in different colors (I used 4),
- newspaper,
- flour adhesives,
- brush,
- craft glue,
- scissors, tape,
- knife,
- thick needle with thread and
- various candies as chocolates, jelly candies or some small gifts
If there is a carnival pinata, we can also put streamers. Optionally we can use a printed image from our subject to put it in the middle of the pinata. Optionally we can use a printed image of our theme to put it in the middle of the Piñata.
The process – 1st stage
First, we cut the newspaper into strips. We do the same with wafer paper, only to trim the long side.

Once we are ready we start … We make the flour. Heat a dose of water and add the same proportion of flour slowly to our hot water. Stir constantly to keep it from becoming salty. It is ready once it takes on a slightly more fluid form. Let it cool for a while.
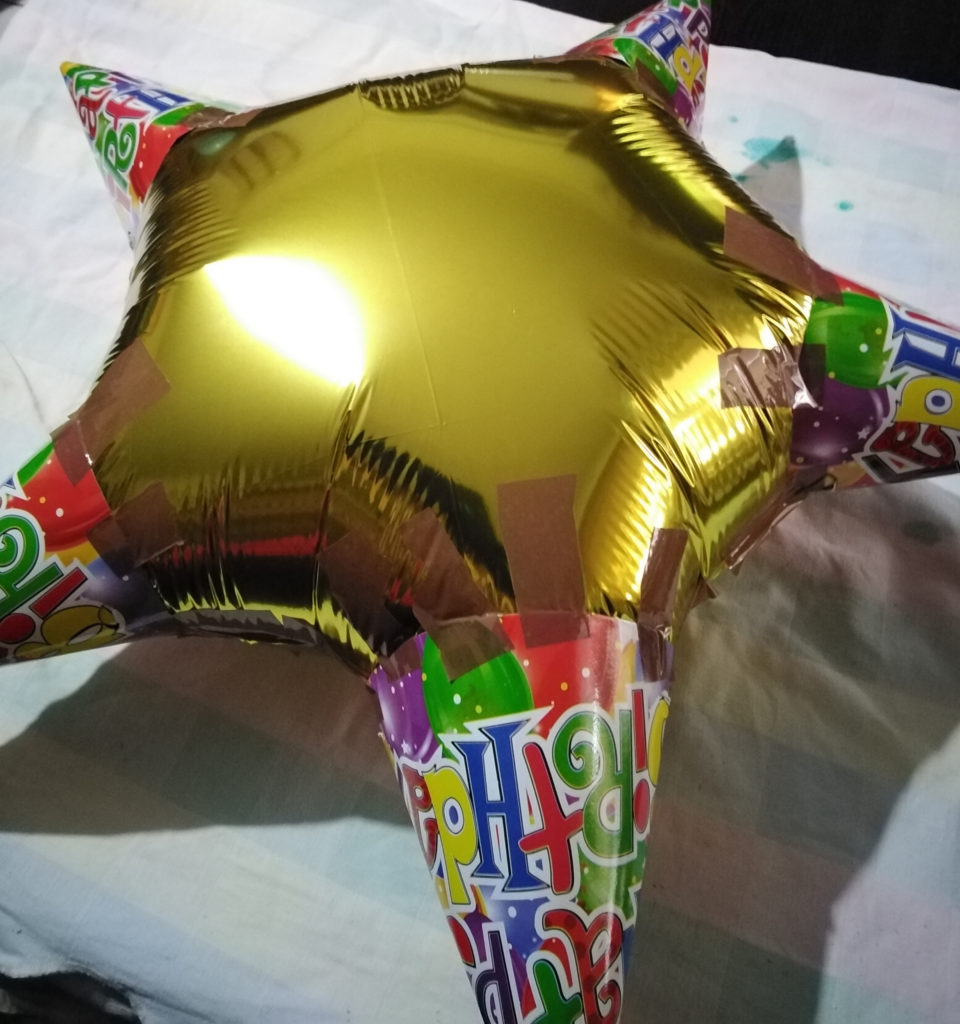
We inflate our balloon. We place a party hat on each side of the star and glue it with a little tape vertically so that it attaches to the balloon and remains firm. If the party hats do not like to fit in as they are, we can glue them off the paper.
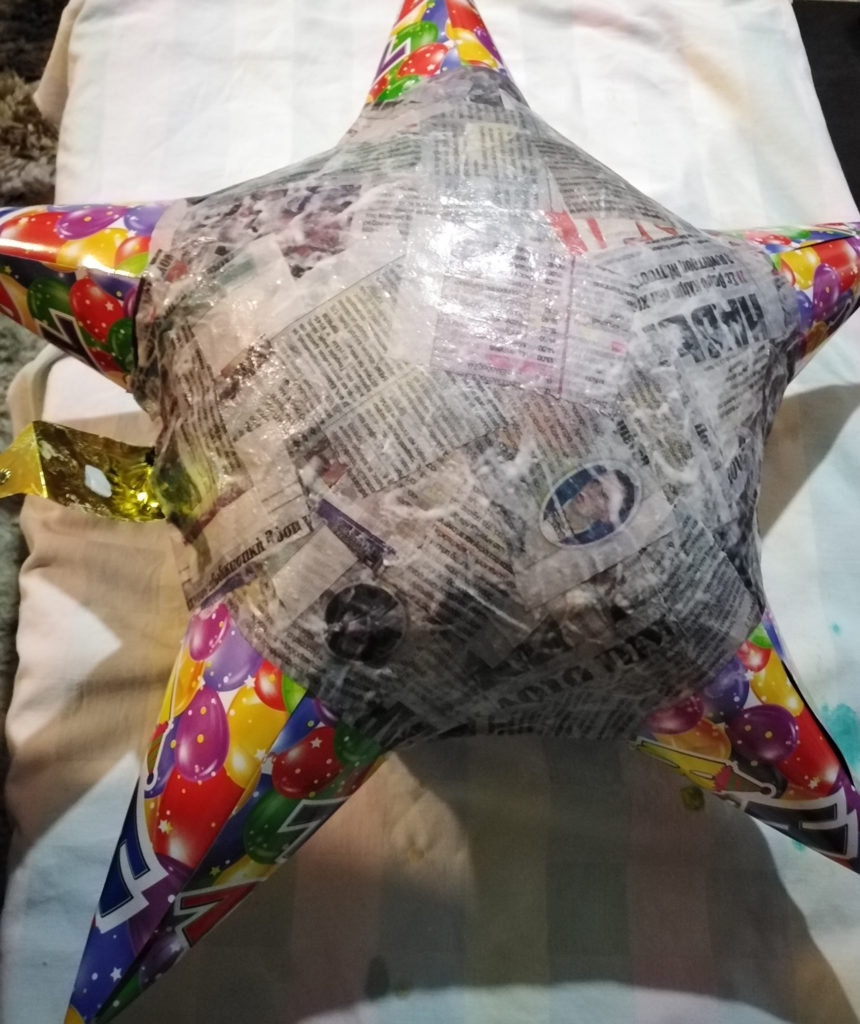
Put the newspaper strips one by one in the flour paste. Immediately remove and press with both fingers lightly to remove the flour as much as possible. Then we stick to our balloon, careful not to create gaps in the balloon. We take care to touch the newspaper on the balloon without blowing the newspaper in between.

As soon as we cover one side of the Piñata we rest on a jar containing weight (e.g. batteries) and start at the rear. Once finished, let it dry. Repeat as many times as you like. The more layers you make, the tighter the pie will be and therefore it will be a little harder to break. The duration of the drying varies depending on the climate.
The process – 2nd stage
We cut a hole to put the treats. Once filled, we make small holes and sew the hole so that the scratches do not fall.
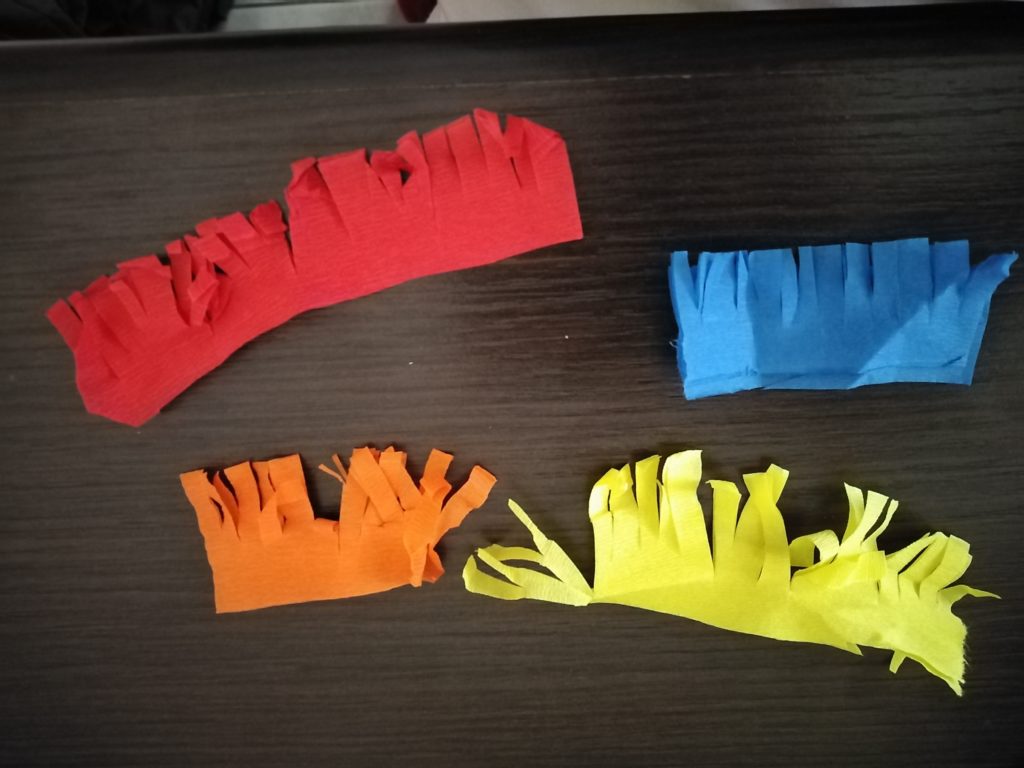
Then we start and paste the strips from the corrugated paper, using a brush and craft glue, choosing one color at a time. Personally, it was better for me to start from the middle of the star’s edges and move towards the center. Continue until we reach the center of the star.
At this point we can if we want to stick a printed image with the theme of the party in the center of our pin. We do the same on both sides. Your pints are ready! Place it up! Get ready!
Tips!!!
If your Piñata is for toddlers and you are not afraid to hit the Piñata with wood then you can
a) Put the children in a row and hit each child 1-2 times and then go back in the row, or
b) Drill a hole in the Piñata (or use the scratch hole before closing it), put a wafer paper on a toilet paper, and wrap ribbons to hang (as many children as possible). Make a small hole in one side of the Piñata that will be located as you hang it down. Insert the health roll into the Piñata and get the ribbons hanging out of the small hole you opened.
Believe me, kids will love it, while adults will be impressed by the professional work you’ve done!!! Try it and you won’t regret it!!!
Send us your impressions! Feel free to contact us either by comments or by email. Don’t forget to subscribe to our newsletter to receive our latest news!!!
See also:
DIY: Easy gift bags for your kids
How to make kid’s picture frames
How to make pencil/marker-cases
Play with the kid: It’s important!
How important fairytales are?
Follow and share: